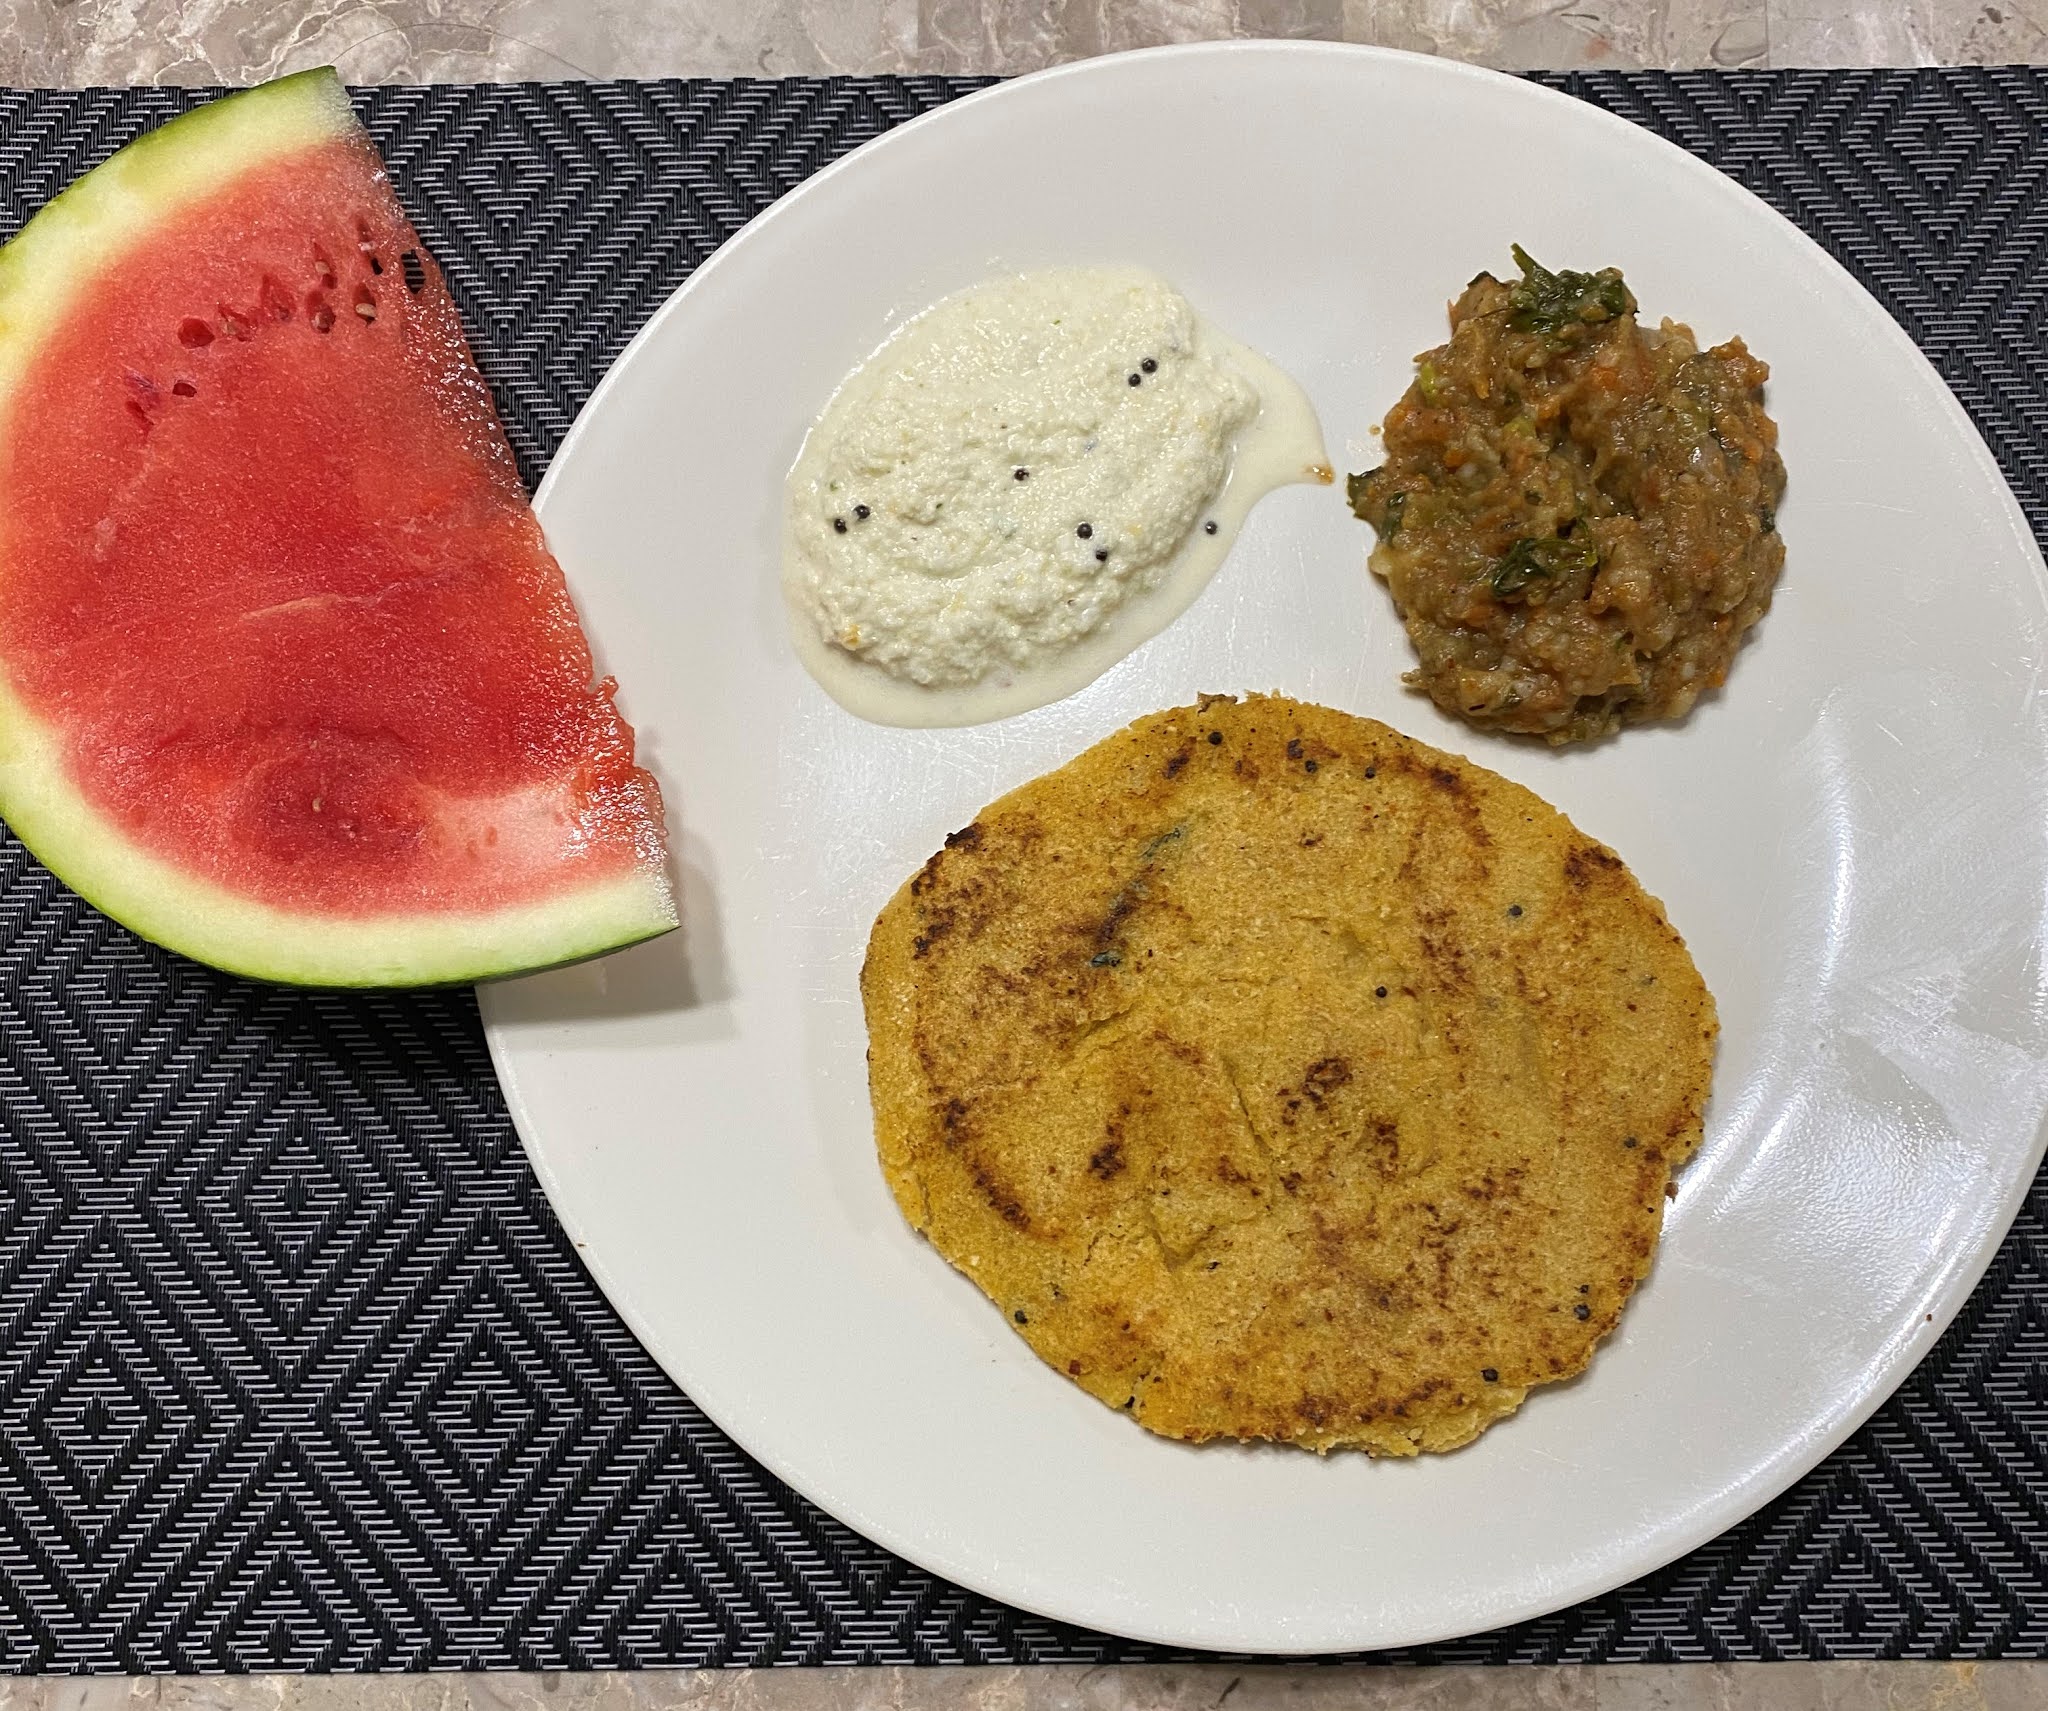
Millet moong dal paniyaram/appe is a balanced recipe with wholesome nutritions of millets and goodness of moongdal(lentils). This dish is a healthy and fulfilling breakfast or can be had as brunch on a lazy day.
Millet moong dal appe can be served with Garlic chutney/Tomato chutney/Onion chutney.

Ingredients to grind:
Any millet grain(kodo, foxtail, barnyard, little) Millet - 1 cup
Split moong dal - 1 cup
Flattened rice/Poha -1 cup
Green chillies - 3
Salt
To Saute:
Onions - 1/2 cup finely chopped
Carrots - 1/4 cup finely chopped
Bell peppers - 1/4 cup finely chopped
Mustard seeds - 1 tsp
Oil - To saute the veggies and to make the paniyaram/appe.
Salt
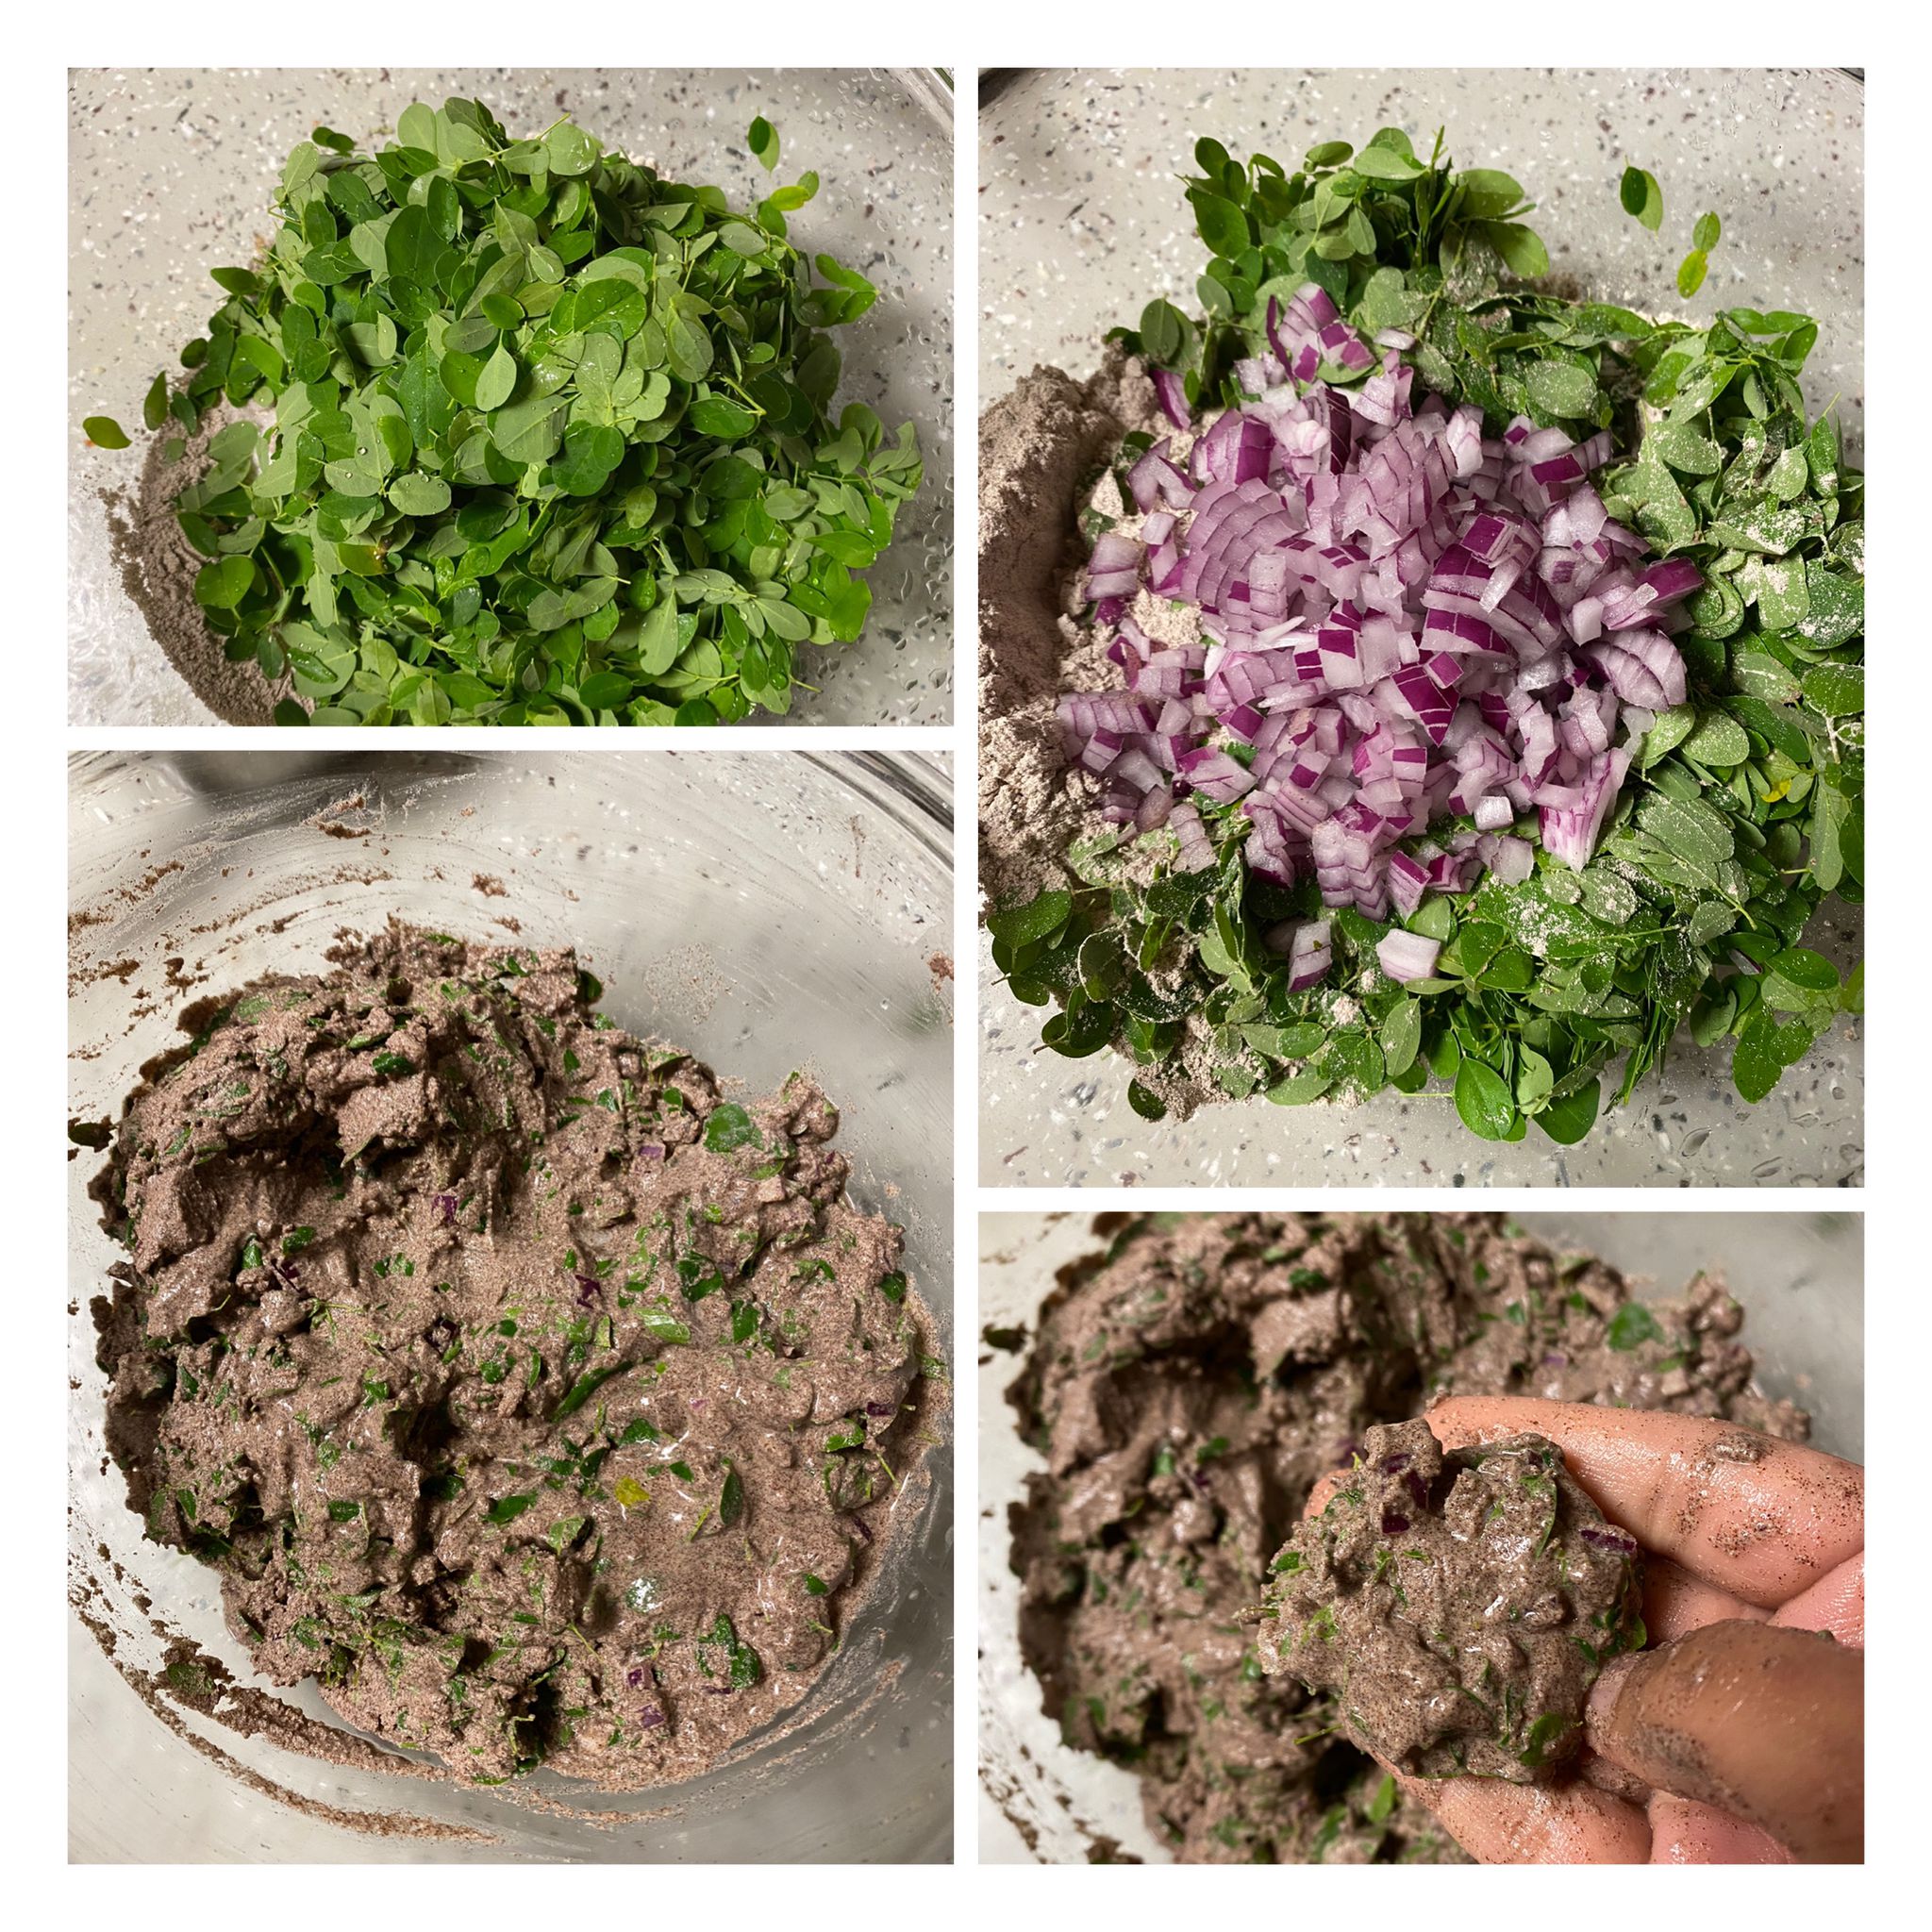
Method:
1. Soak the millet, poha and moong dal together overnight.
2. In a blender, add millet, moong dal, green chillies, salt, poha and grind all these together with smooth texture. Transfer to a mixing bowl.
3. In a saucepan, heat oil, add mustard seeds and let it splutter.
4. Saute onions for 2-3 minutes, then add carrots, bell peppers and saute for 7-8 minutes.
5. Add it to the batter and mix well.
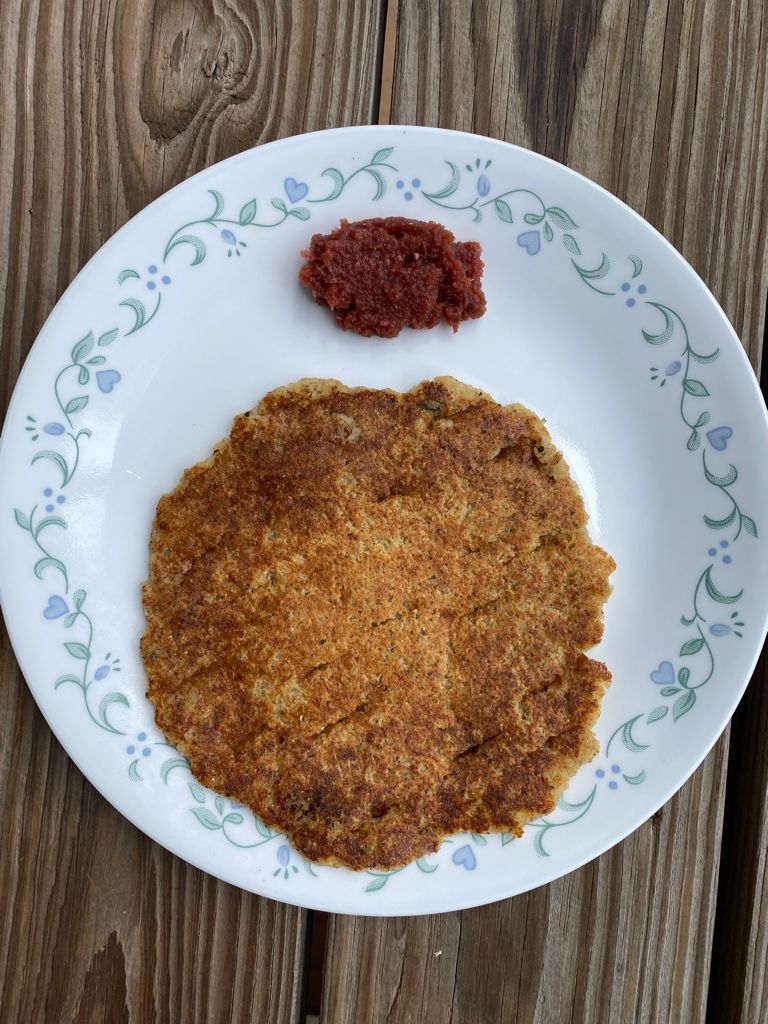
6. Heat the paniyaram pan, and brush with oil and when its hot, fill in the compartments half full and cover with lid.
7. When cooked on one side, flip it over and cook on the other side as well. When done, serve it with a spicy chutney.